
Doing projects together is something Joe and I look forward to on the weekends. Sometimes, we drag the kids into our plan and call it “character building”, but even amidst the groaning and muffled complaining, they enjoy themselves slightly. Our first big project of 2022 was to build a firewood shed. We needed to get the wood off the ground to protect it from bugs and under a cover so the wood could stay dry. We have a fireplace in our living room and during those cold or dreary days, most of us end up in there with a book or a game while the fire knocks the chill out of the air. We built our firewood shed over the course of two weekends, since it was so cold outside the first weekend our fingers went numb after a while.
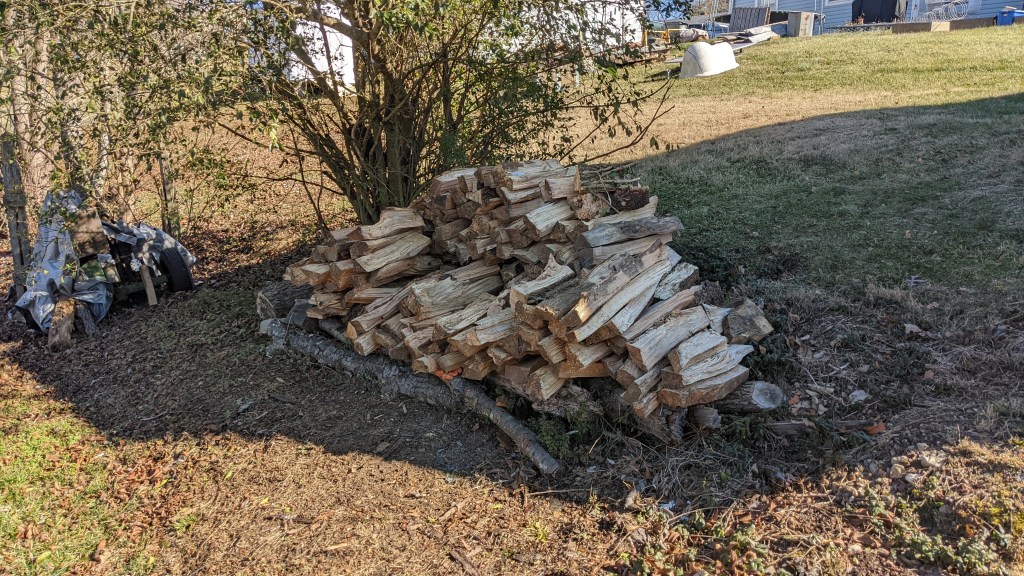
Wood is outrageous right now, so we decided to use the wood Joe had saved when we tore down my old tree house at my parent’s. We designed the shed based on the kind of wood we already had to keep the costs down. The first step was putting the 4×6 posts in the ground. We used a post hole digger, a tamping bar, and post levels to make sure everything was plumb (straight up and down). We threw a couple of rocks down in each hole to add some stability before we packed the dirt and clay in around it. My husband did most of the heavy work here because the ground was pretty cold and hard to dig. Why start an outdoor project in January? Well, here in the lovely south, bugs start coming out by March and the heat is pretty unpredictable. We would rather work out in the cold than in the humidity, plus we just got this load of firewood and wanted to keep it relatively dry.
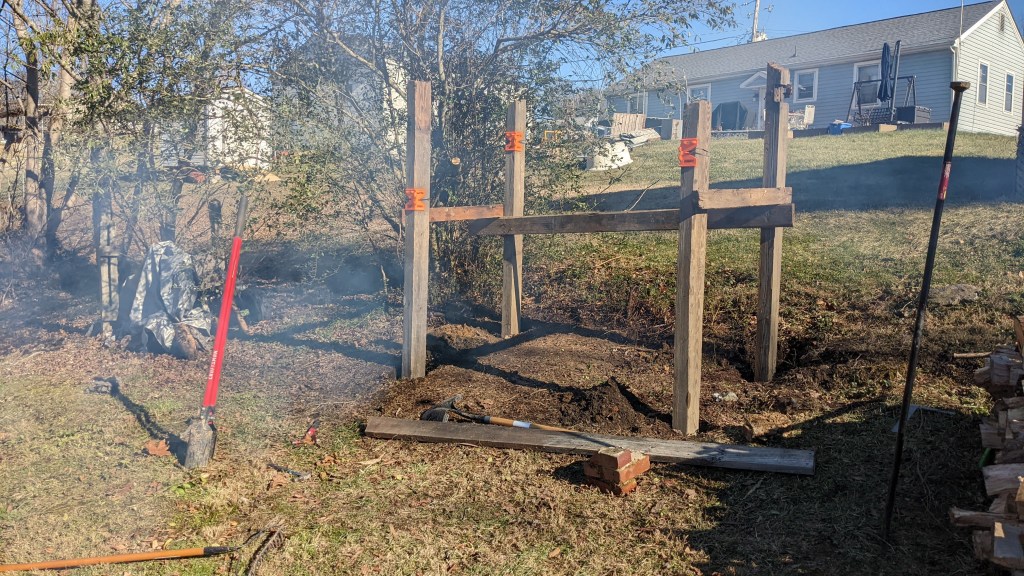
Joe used a circular saw and a chisel to cut half-lap joints in the posts on the bottom for the main platform joists to sit in. He secured the joists with three inch galvanized nails. The bottom of the half-lap actually holds the weight, the nails just keep everything tightly in place. It really helped us a lot here that we had everything plumb and square.
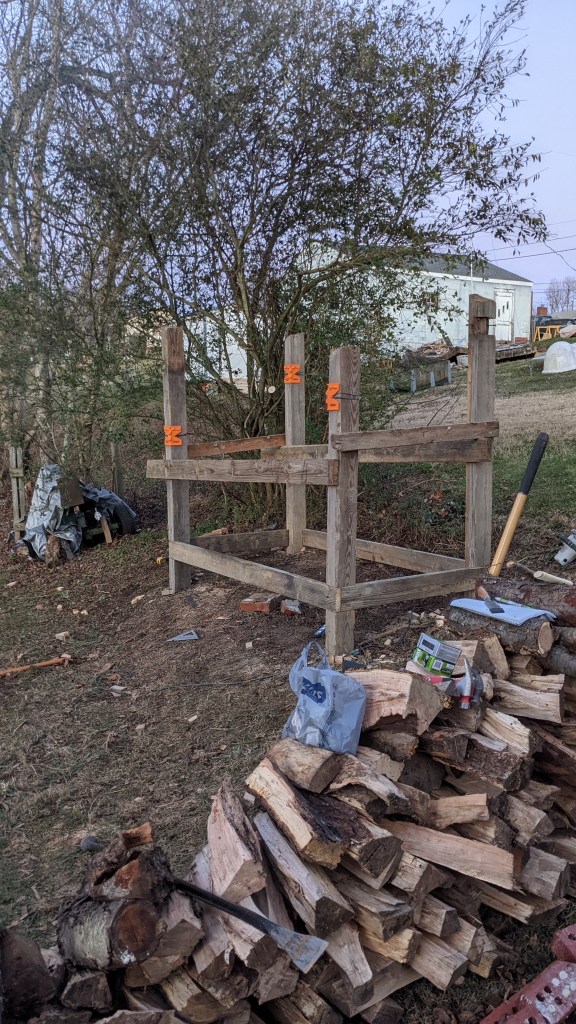
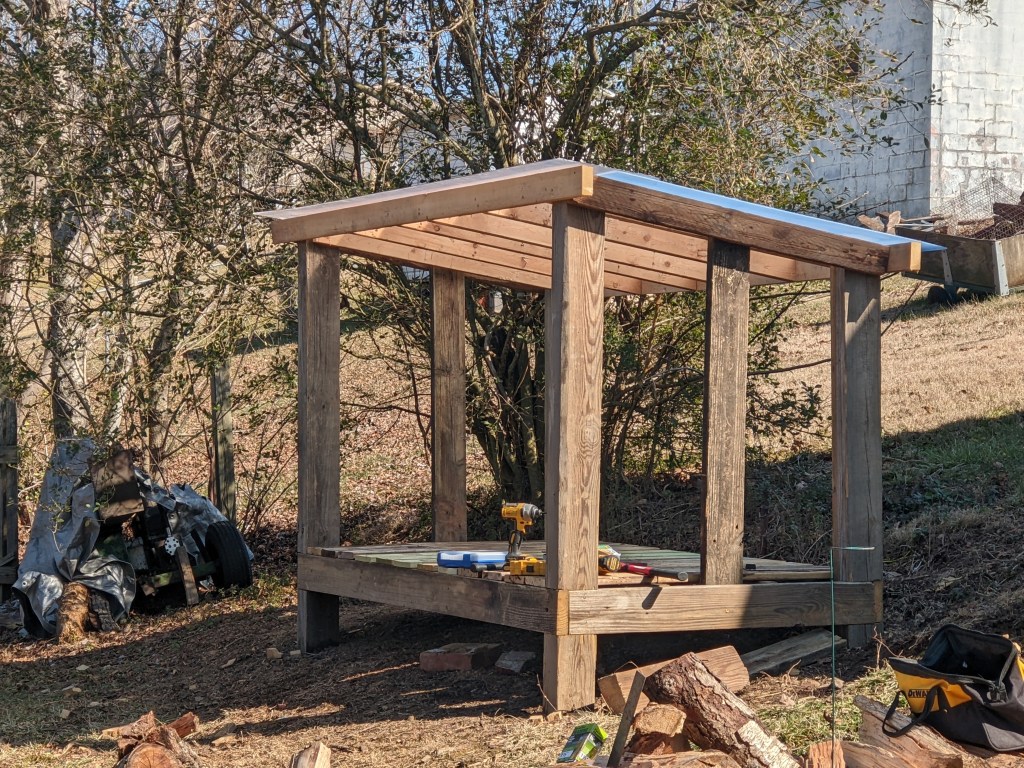
Next we added two 2×6 joists(support beams under the floor), Joe hung them with joist hangers parallel to the front boards. On top of the joists we nailed 1×6 boards for the floor, we thought adding space in between the floor boards would increase airflow. Then we nailed up two boards on each post at a ten degree angle. Joe used a chainsaw and cut the posts using the board as a guide. Next we installed the rafters and roof!

We cut two 2×4’s a foot longer than the width of the front posts, the idea is we would have around 6 inches of overhang on each side. We also set our miter saw to a 80 degree angle and cut the ends of 8 boards to match the angle of the front and back boards. the front and back boards are at 90 degrees but each board attached to them has to be cut 80 degrees for the front and 100 degrees for the back. This ensures that the supports for the roof have good flat contact with the front and back boards. We used 3 inch exterior wood screws to secure the roof support boards. Joe also added a vertical 2×6 to each end to make sure the firewood stack would not put pressure on the thin face boards we plan on installing in the spring.
Joe had some extra 1/8 inch thick plastic sheet from another project we used for the roof. You should use screws with rubber washers to keep water from leaking through the plastic. However, Joe did not want to go back to the hardware store again so we improvised and used exterior wood screws and a little bit of caulk to seal the water out. We overlapped the two pieces of plastic by a few inches to make sure rain would not leak through. The plastic should be UV resistant and will let sunlight into the shed which will dry our firewood even faster. Now all we lack is installing the paneling along the sides and back and a pair of doors on the front. I think we will wait for warmer weather!